
As you might be aware, I have been experimenting with AWS as a remote GPU-enabled machine for a while, configuring Jupyter Notebook to use it as a backend. It seemed to work fine, although costs did build over time, and I had to always keep in mind to shut it off, alongside with a couple of other limitations. Long story short, around 3 months ago I decided to build my own machine learning rig.
My idea in a nutshell was to build a machine that would only act as a server, being accessible from anywhere to me, always ready to unleash its computational powers on whichever task I’d be working on. Although this setup did take some time to assess, assemble and configure, it has been working flawlessly ever since, and I am very happy with it.
Hardware
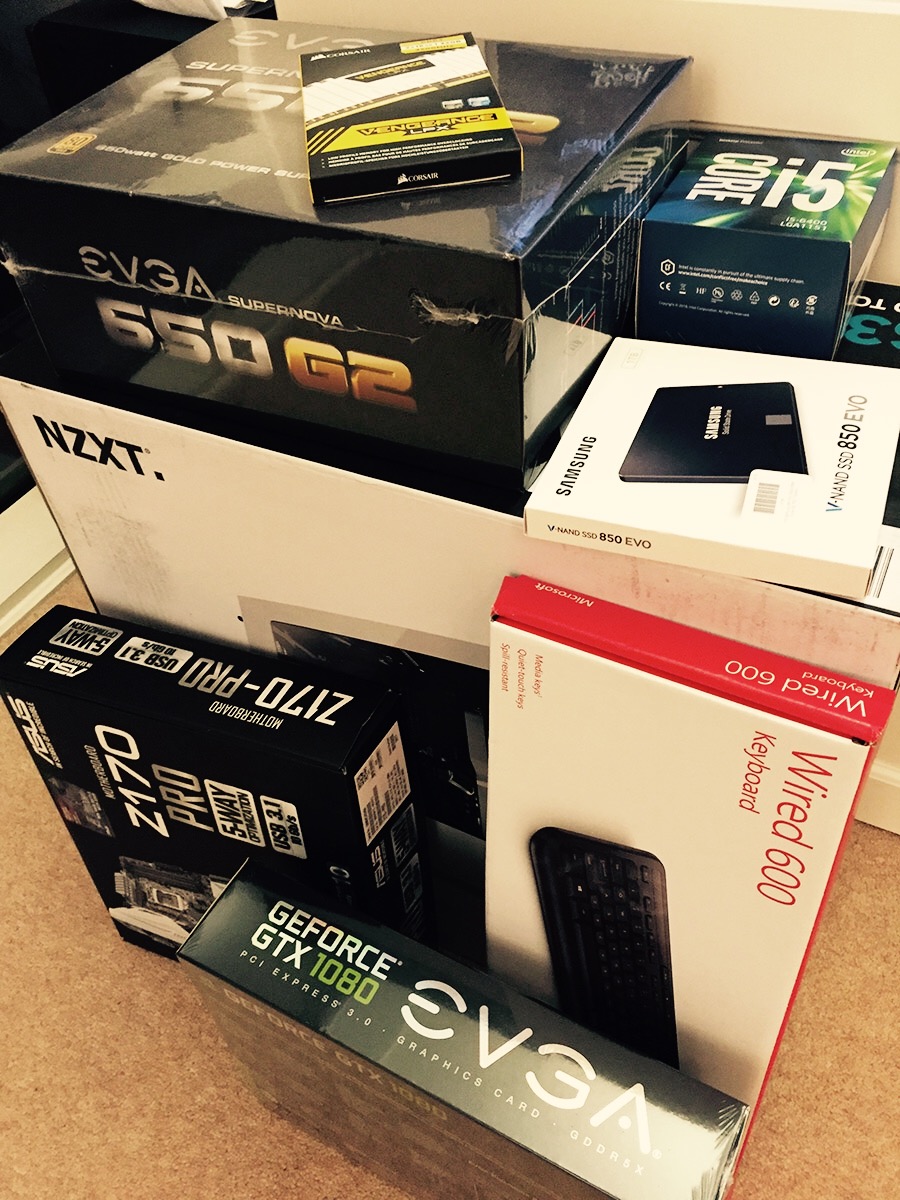
Let’s start with hardware. This would include the server PC and some basic peripherals: I didn’t even bother to buy a monitor or a mouse, as I only intended to use this machine remotely from CLI. My main considerations were performance in machine learning tasks and extensibility in case I decided to upgrade at some point. This is the config I came up with.
| Type | Item | Price |
|---|---|---|
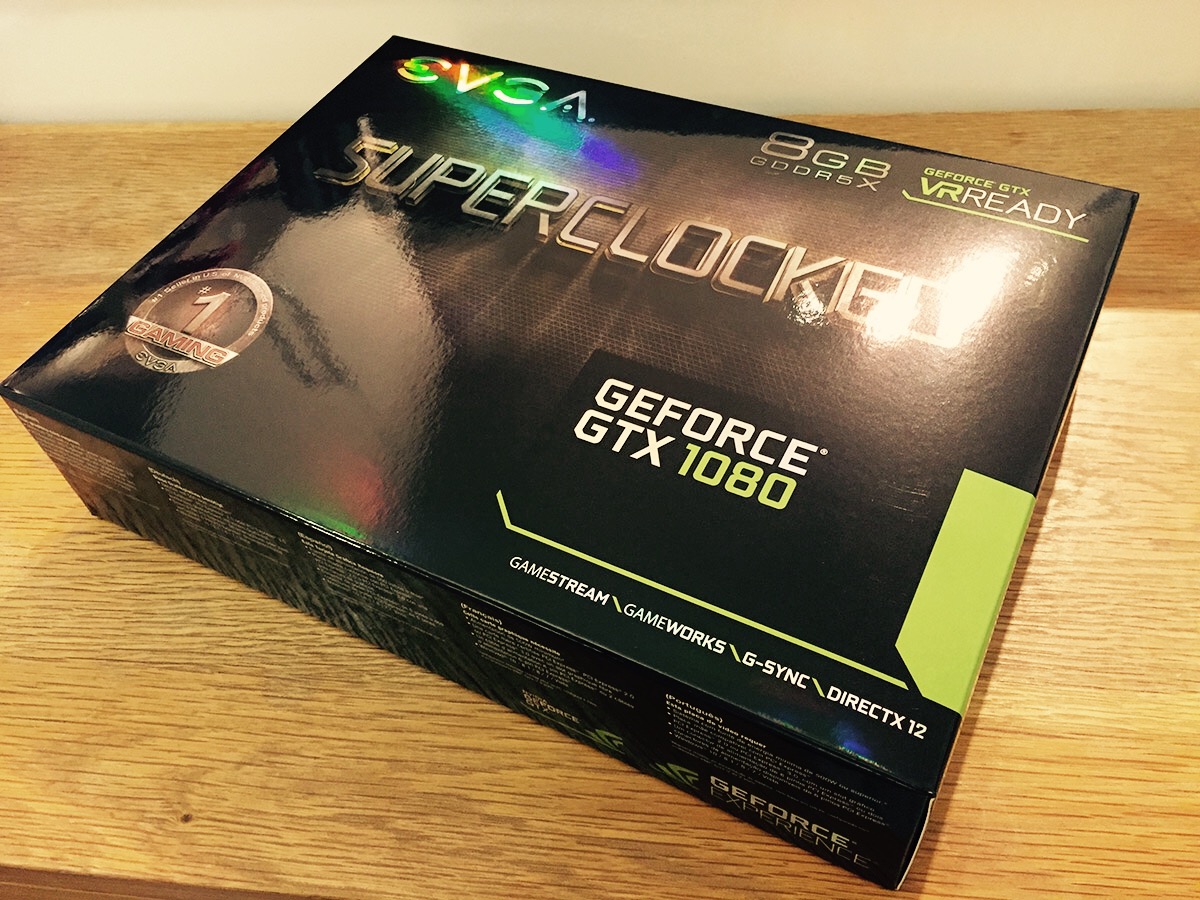
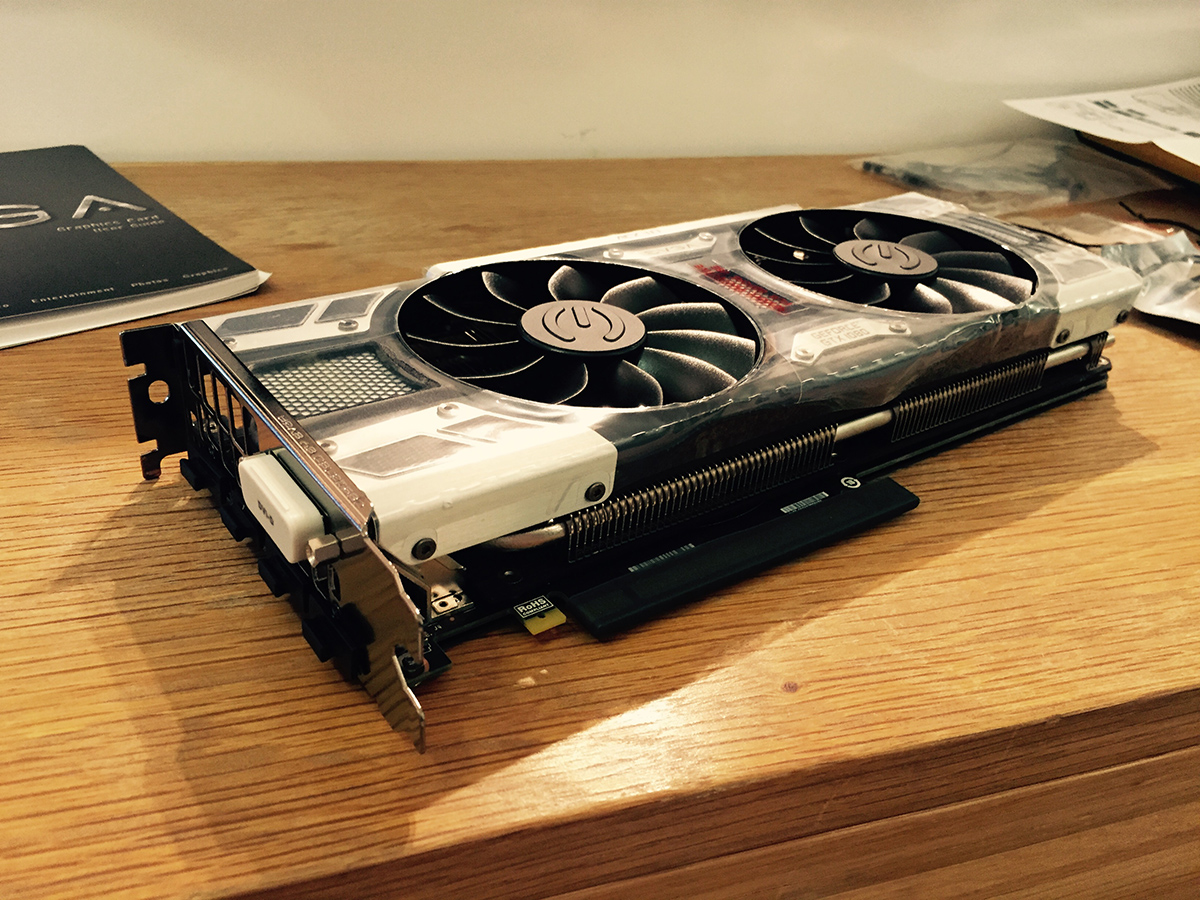
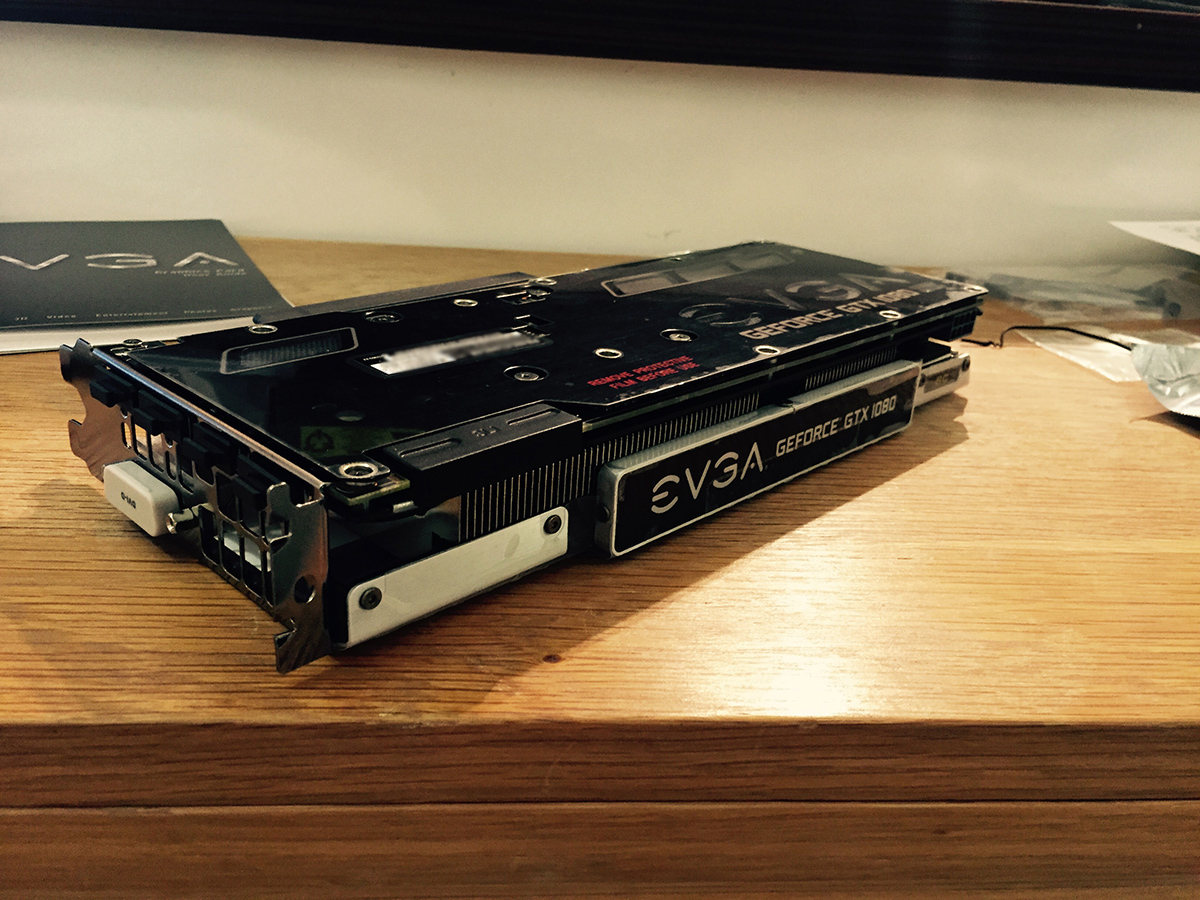
| Video Card | EVGA GeForce GTX 1080 8GB Superclocked Gaming ACX 3.0 Video Card | £629.84 |
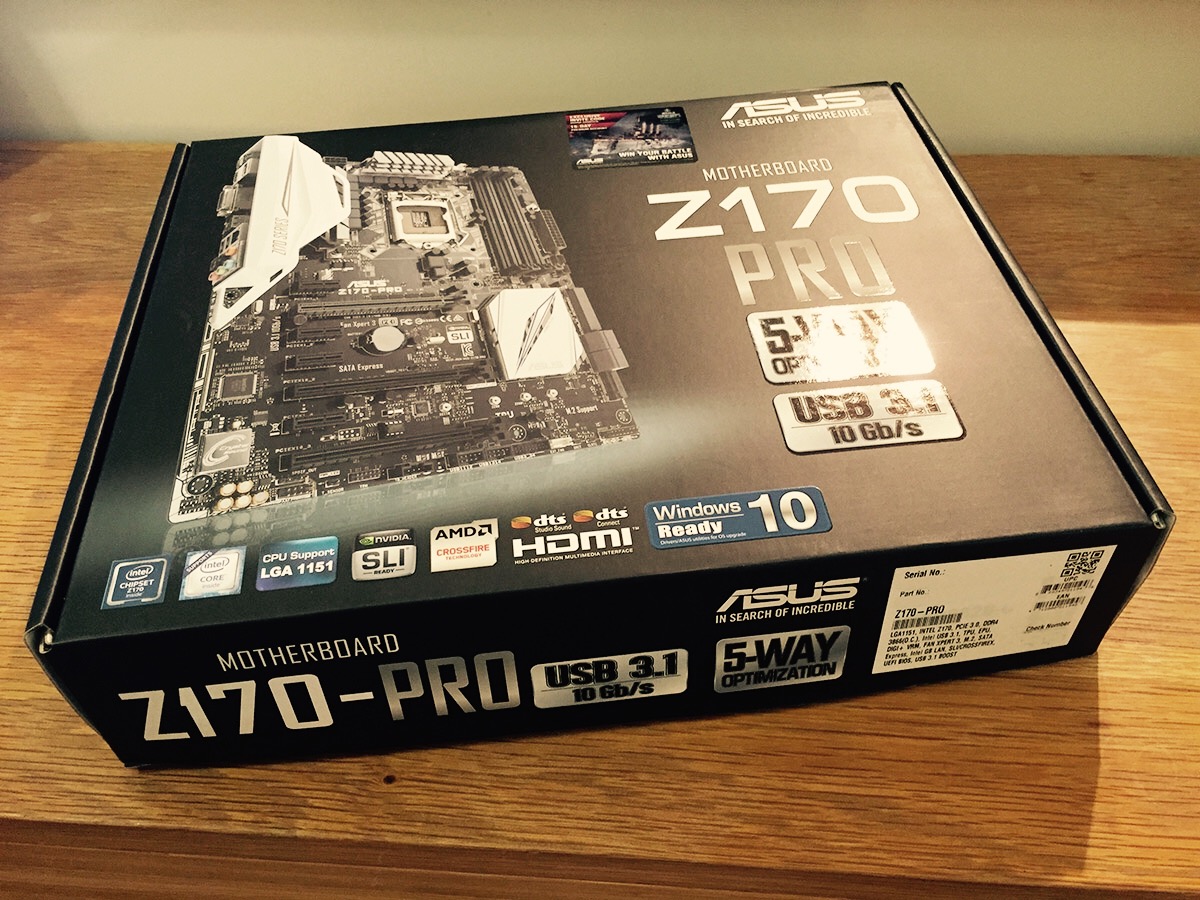
| Motherboard | Asus Z170-PRO ATX LGA1151 Motherboard | £129.99 |
| CPU | Intel Core i5-6400 2.7GHz Quad-Core Processor | £161.99 |
| Memory | Corsair Vengeance LPX 32GB (2 × 16GB) DDR4-3200 Memory | £182.86 |
| Storage | Samsung 850 EVO-Series 1TB 2.5” Solid State Drive | £295.98 |
| Power Supply | EVGA SuperNOVA G2 650W 80+ Gold Certified Fully-Modular ATX Power Supply | £89.99 |
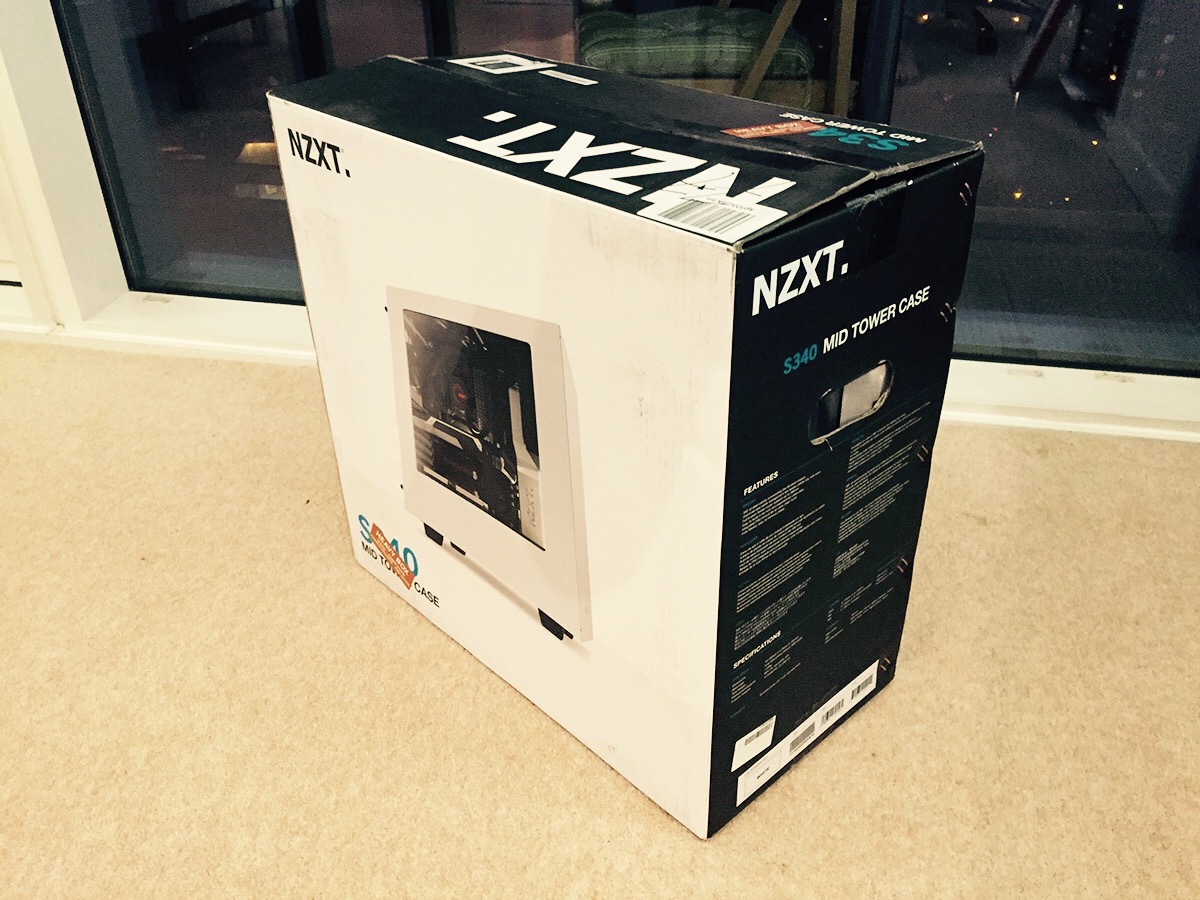
| Case | NZXT S340 (White) ATX Mid Tower Case | £59.98 |
| Keyboard | Microsoft ANB-00006 Wired Slim Keyboard | £11.63 |
| Total | £1562.26 |
Let’s break this list down and I will elaborate on some of the choices I made.
Video Card
This is the most crucial part. After serious consideration and leveraging the budget I decided to invest into EVGA GeForce GTX 1080 8GB card backed by Nvidia GTX 1080 GPU. It is really snappy (and expensive), and in this particular case it only takes 15 minutes to run — 3 times faster than a g2.2xlarge AWS machine! If you still feel hesitant, think of it this way: the faster your model runs, the more experiments you can carry out over the same period of time.
Motherboard
ASUS Z170 Pro had some nice reviews, and, most importantly, is capable of handling a maximum of two massive GPUs like GTX 1080. Yes, GTX 1080 is pretty large and is going to take 2 PCI slots on your motherboard — something to keep in mind if you plan to stack them in future. Asus Z170 even supports SLI, although you wouldn’t need it if you are only using GPUs for machine learning tasks. It supports a maximum 64 Gb of RAM which should also be enough if I decide to upgrade.
CPU
This part was easy. I simply went with what was not too expensive, and didn’t pursue any outstanding computational power here — this happened to be Intel Core i5-6400 at the moment. I was thinking of buying a neat and quiet Noctua cooler at first, but the stock one seems to just do the job and is pretty quiet as well, so I never bothered to replace it.
RAM
I went with 32GB (2 × 16GB) DDR4-3200, although it actually works at a lower clock rate. However, the important part was to get 2 × 16 Gb modules, so that they only occupy 2 out of 4 available motherboard slots. In this case whenever I realise I need more RAM, I can simply get 2 more memory modules and bump it up to 64 Gb.
Storage
I decided to go with a Samsung 1 TB SSD for a system drive, and that is where OS would go. However currently I use it for everything, and still have an option of adding an additional 4-6 Tb HDD when I start working with fairly large datasets.
Power supply
Since my machine was supposed to be a server, it would be plugged in all the time. EVGA SuperNOVA G2 650W has an automatic eco mode for times when you don’t use all of the machine’s power, and is 80+ Gold Certified. Thinking about it now, it would make sense to go up to a 850W for potential upgrades, but 650W is more than enough for now. I would also highly recommend fully-modular power supplies as they are so much eaiser to install.
Case
Main consideration here was to have a case that would support a potential upgrade, e.g. could fit the motherboard I decided to go with. NZXT S340 ATX Mid Tower Case however turned out to be a pretty good choice in terms of cable management and looks!
Putting it together
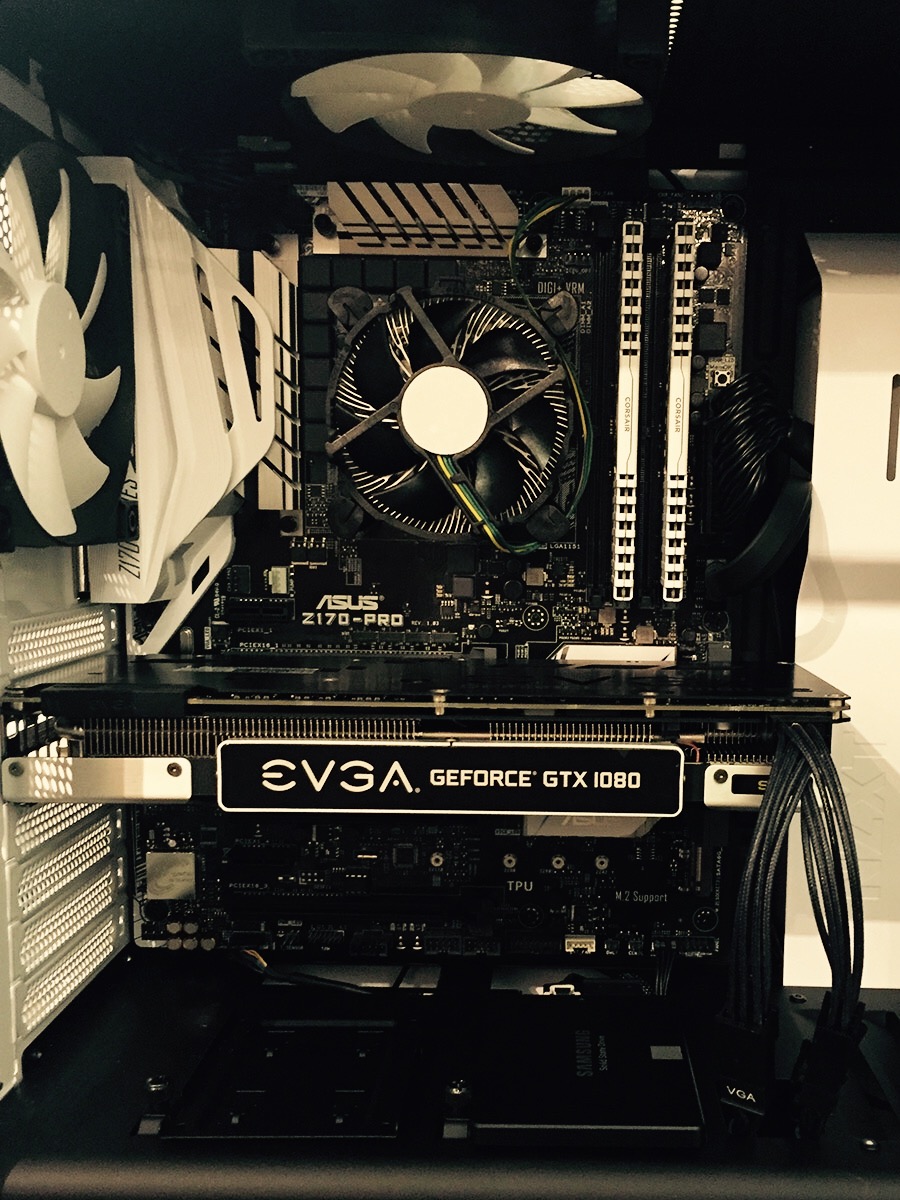
It took me a couple of hours to put everything together, but in my defense I never did anything like that before, so it would probably take you less if you are familiar with the process. Overall it is a pretty straightforward job, and it seemed like it would take some effort to screw things up big time.
Now, what I like most about this setup is a room for extension. If at some point I decide that it is not enough for my needs, there are a bunch of things I can improve by simply plugging something in, rather than replacing:
- Install 32Gb more RAM, resulting in 64 Gb altogether.
- Install additional storage with a 4-6 Tb HDD.
- Install another GPU, resulting in 2 × GTX 1080 setup.
Software
Operating System
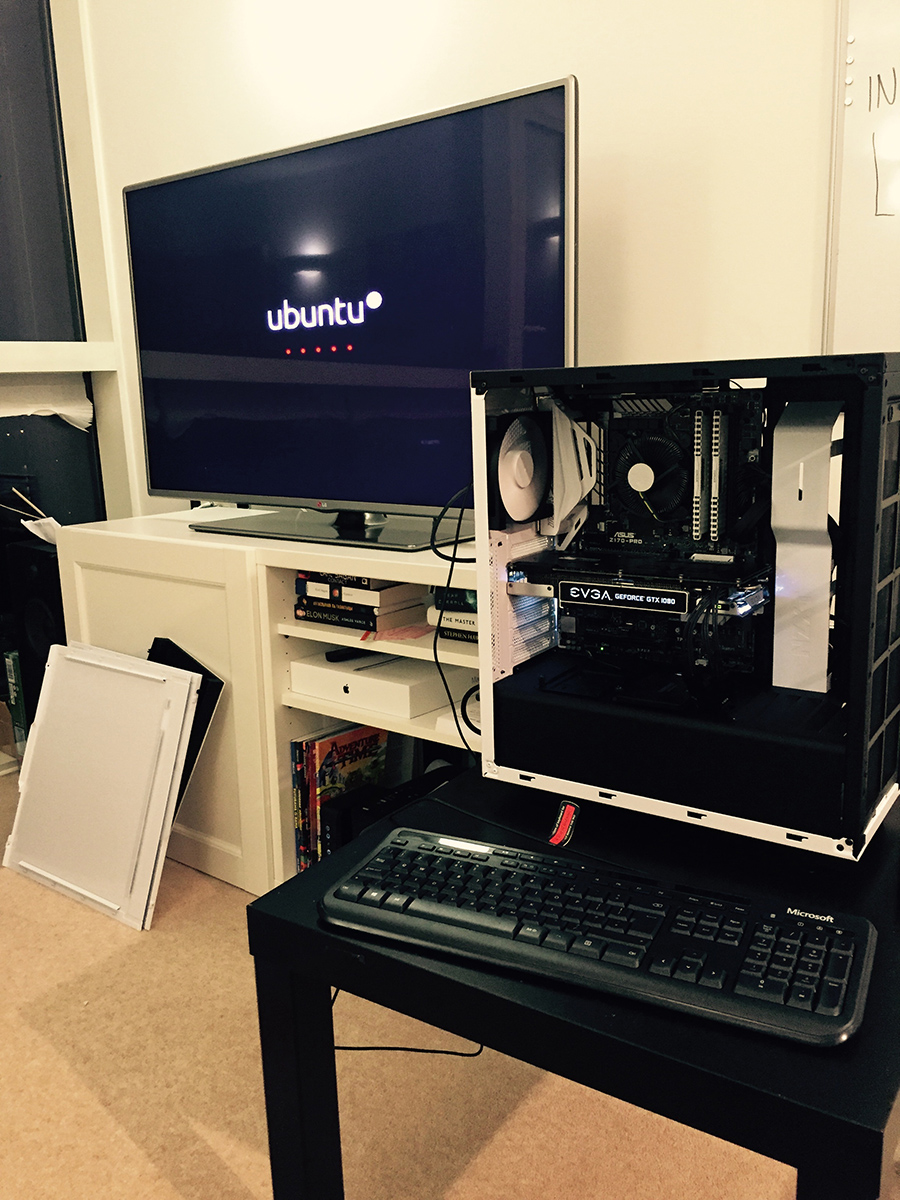
It was supposed to be a server and it had to support all the modern machine learning libraries and frameworks, so I decided to go with Ubuntu 16.04 as an operating system. It has a nice CLI, and I am familiar with Unix systems as I have macOS installed on my personal computer. I then installed most of the required frameworks and libraries with Anaconda (apart from CUDA dependencies and TensorFlow), and it was time to make my server accessible.
SSH
The easiest way to get hold of your server from other machine is by configuring SSH access with a key. The process is fairly straightforward and is explained in great detail here, and if you are less familiar with communication commands in Linux, you may want to check out this course. Basically, you want your server to allow SSH connections, authenticating users with a key pair. You generate this key pair on your primary machine (the one you connect from) keeping your private key private, and transfering corresponding public key to the server. You then tell the server that this is your public key and whoever knocks with a corresponding private key must be you.
Now, all of this must now work while you are in the same local network. If you want to make it accessible to the outside world though, you may need to request a static IP from your provider, or install some sort of a dynamic DNS daemon on your server (there are a couple of free services that allow that). You may also want to check your router settings first, as some of them support dynamic DNS services out of the box. Once you get hold of your machine’s domain name or IP, you can open a random port for SSH access in your router settings (and one for the Jupyter Notebook to broadcast its frontend). This is basically all it takes to make your server accessible from anywhere in the world (and this is why it is essential to secure your server with a key).
Don’t forget to set SSH keys! Exposing your server to the outside world is dangerous, for internet is dark and full of terrors. You don’t want those wildlings to hack into your machine.
SSH File system
Although command line may seem like a user-friendly interface to some, there is an alternative way of accessing your server’s file system called SSH File system. It allows you to mount a portion of a file system on your remote machine to a local folder. Coolest thing about it is that once it is mounted, you can use any sofware you like to work with these mounted folders, be it IDE or your favourite GUI git client. Things will definitely seem slower, but should overall work just as if you had all those remote files locally.
If your user on the server machine happens to be tom and server’s IP is 10.23.45.67, this would mount your entire server home directory to ~/your/mount/folder/ on your local machine.
sshfs -o delay_connect,reconnect,ServerAliveInterval=5,ServerAliveCountMax=3,allow_other,defer_permissions,IdentityFile=/local/path/to/private/key [email protected]:/home/tom ~/your/mount/folder/
Here /local/path/to/private/key is, well, your local path to the private key for SSH access. Keep an eye on all those settings as they are supposed to make remote partition more stable in terms of retaining connection. Finally, this is how you unmount your server file system.
umount [email protected]:/ &> /dev/null
Disclaimer: Keep in mind that many operations may seem way slower in macOS Finder as opposed to ssh-ing into the machine and using CLI. For instance, if you want to unzip an archive with a lot of files (say, a dataset) which is physically stored on your server, you may be tempted to open enclosing folder in Finder and open with Archive Utility. However this would be painfully slow, and a much faster way to do that would be this (see code below).
# Way faster than double-click in Finder
ssh [email protected]
sudo apt-get install unzip
cd ~/path/to/archive/folder/
unzip archive.zip
Jupyter Notebook
Jupyter already has this amazingly flexible concept of using web pages as a frontend, essentially allowing to run its backend anywhere. Setup and configuration were mentioned in this post, however you may want to take it one step further and make sure Jupyter is running even if you disconnect from your server. I use iTerm as a terminal in macOS, which supports tmux sessions out of the box, which allows me to simply do the following to connect to a long-living SSH session.
ssh -t [email protected] 'tmux -CC attach'
This would present a window attached to a tmux session, where you can start Jupyter Notebook server.
jupyter notebook
You can now close the window — Jupyter process will always stay there, whether you are connected to the remote machine over SSH or not. And, of course, you can always get back to it by attaching to the same tmux session.
Don’t forget to set password! A wise thing to do would be configuring a password for Jupyter’s web interface access. Make sure to check out my AWS post where I describe it in more detail.
PyCharm
PyCharm is my favourite Python IDE, PyCharm Community Edition is free but doesn’t support remote interpreters unfortunately, however PyCharm Professional does (and is not too expensive). You need to go through a cumbersome configuration of your project (which is described in depth here), but as a result you can work with your source code locally, and run it with a remote interpreter, leaving automatic syncing and deployment to PyCharm.
Monitoring
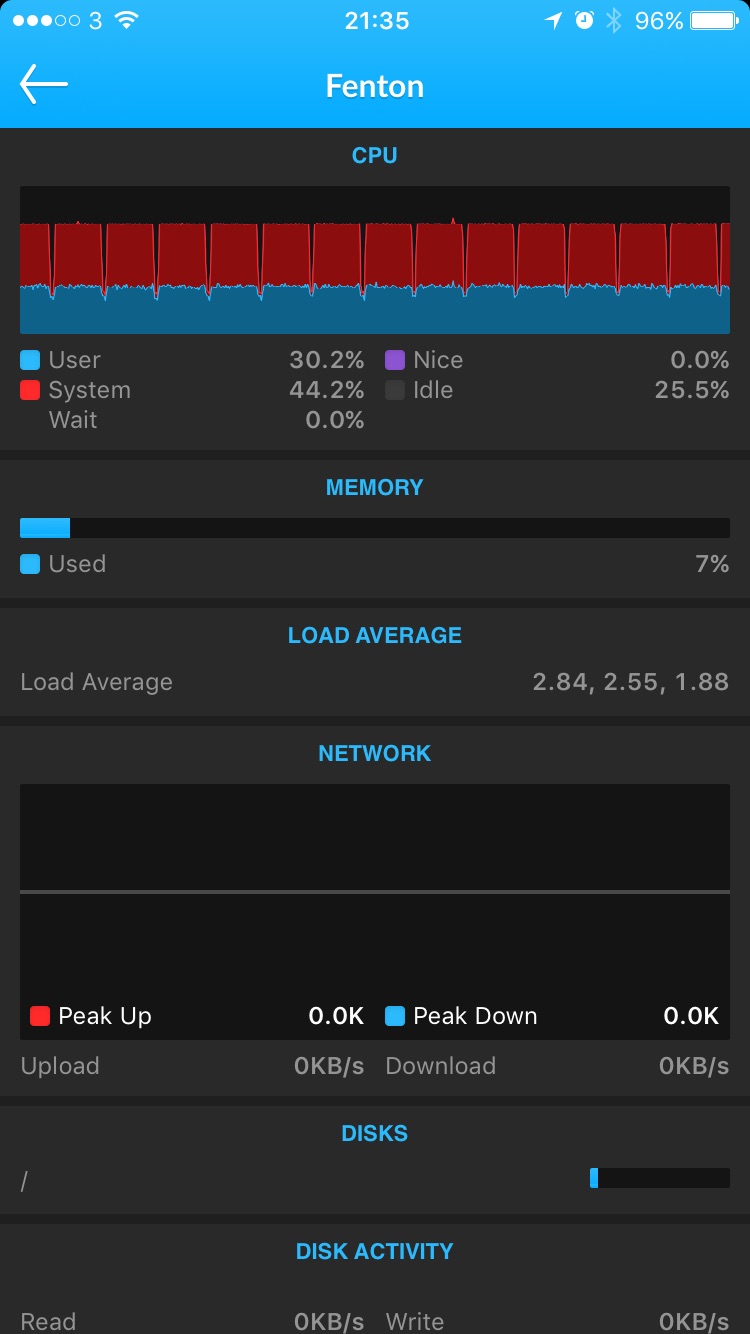
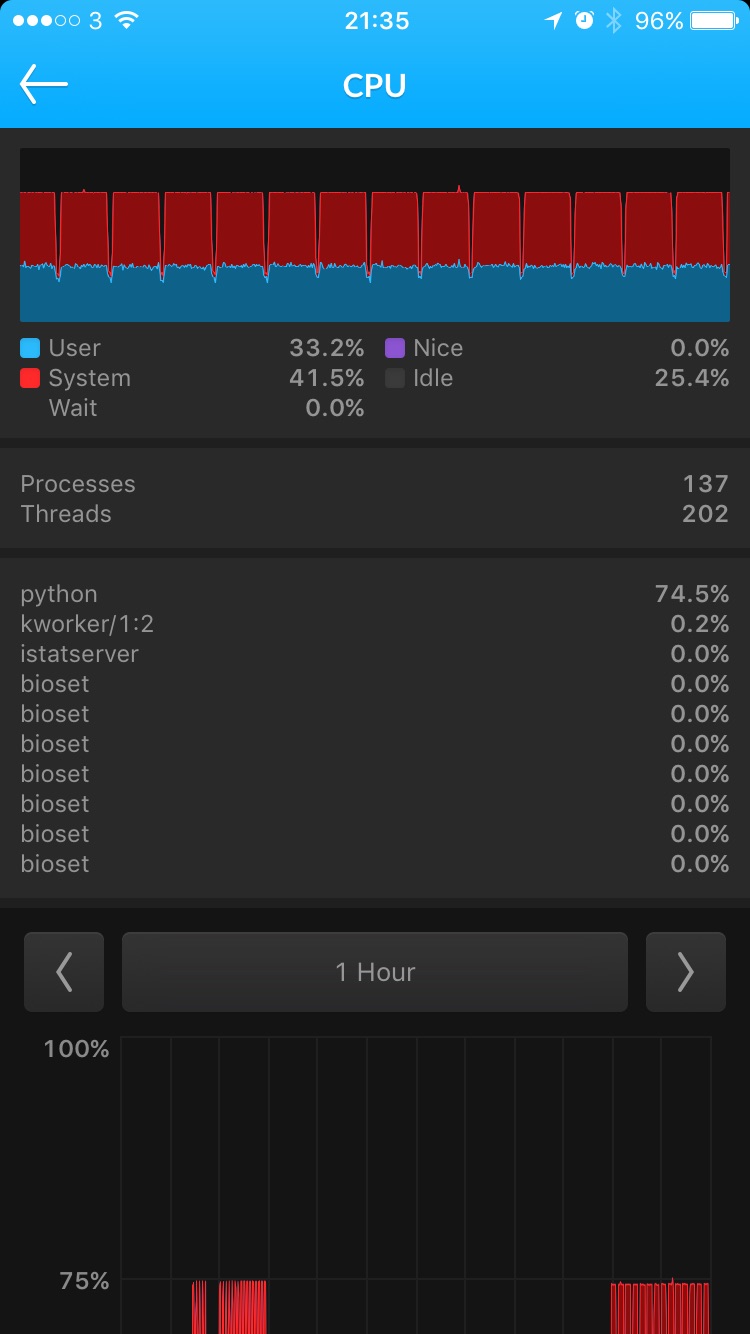
Finally, I suggest installing a monitoring daemon on your remote machine, so that you can periodically check useful stats like CPU load, memory consumption, disk and network activity, etc. Ideally you want to monitor your GPU sensors as well, however I didn’t find any daemon-like monitoring software allowing that on Ubuntu — maybe you will have better luck with it.
What I decided to go with was iStat, which works with a wide range of sensors (Nvidia GPU sensor is not on the list unfortunately) and has a nice companion iOS app. This is what the training process looks like, for instance: CPU is busy with some heavy on-the-go data augmentation, so you can see iStat’s CPU load graph exposing training epochs spikes.
Pick a name
Arguably the most important step is picking your machine’s name. I named mine after this famous dog, probably because when making my first steps in data science, whenever my algorithm failed to learn I felt just as desperate and helpless as Fenton’s owner. Fortunately, this happens less and less often these days!
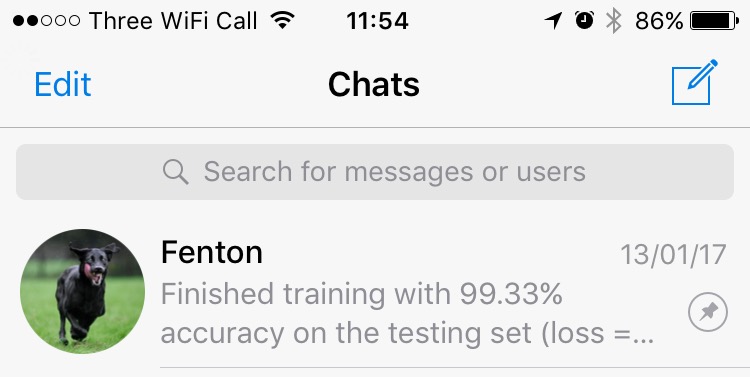
Fenton is a good bot boy, sending me messenger notifications when it finishes training
I also wrote a tiny shell script to make connecting to a remote machine easier. It allows to SSH into it, mount its file system, or attach to a tmux session.
Update user/server/path settings, put this file to /usr/local/bin and make it executable.
# Make fenton.sh executable
chmod +x fenton.sh
You may also want to remove file extension to do less typing in the CLI. Here is a list of available commands.
| Command | Description |
|---|---|
fenton |
Connects via SSH. |
fenton -fs |
Mounts remote machine file system to LOCAL_MOUNT_PATH |
fenton -jn |
Attaches to a persistent tmux session, where I typically have my Jupyter Notebook running. |
fenton jesus christ |
Couldn’t resist adding this one. Opens the Fenton video on YouTube. |
You are all set! Having your own dedicated machine allows you to do incredible things, like kicking off a background training job that is expected to run for hours or days, periodically checking on it. You could even receive notifications and updates on how the training is going using my cloud logger! The main thing however is that you don’t need to worry anymore that your personal computer is not powerful enough for machine learning tasks, since there is a ton of computational power always accessible to you from anywhere in the world.
Leave a Comment